
How to take menu food photos with your phone
No photographer needed: window light, a white card, the right angle for each dish and a consistent edit give you honest menu photos in one afternoon.
Menyo Team
June 17, 2026
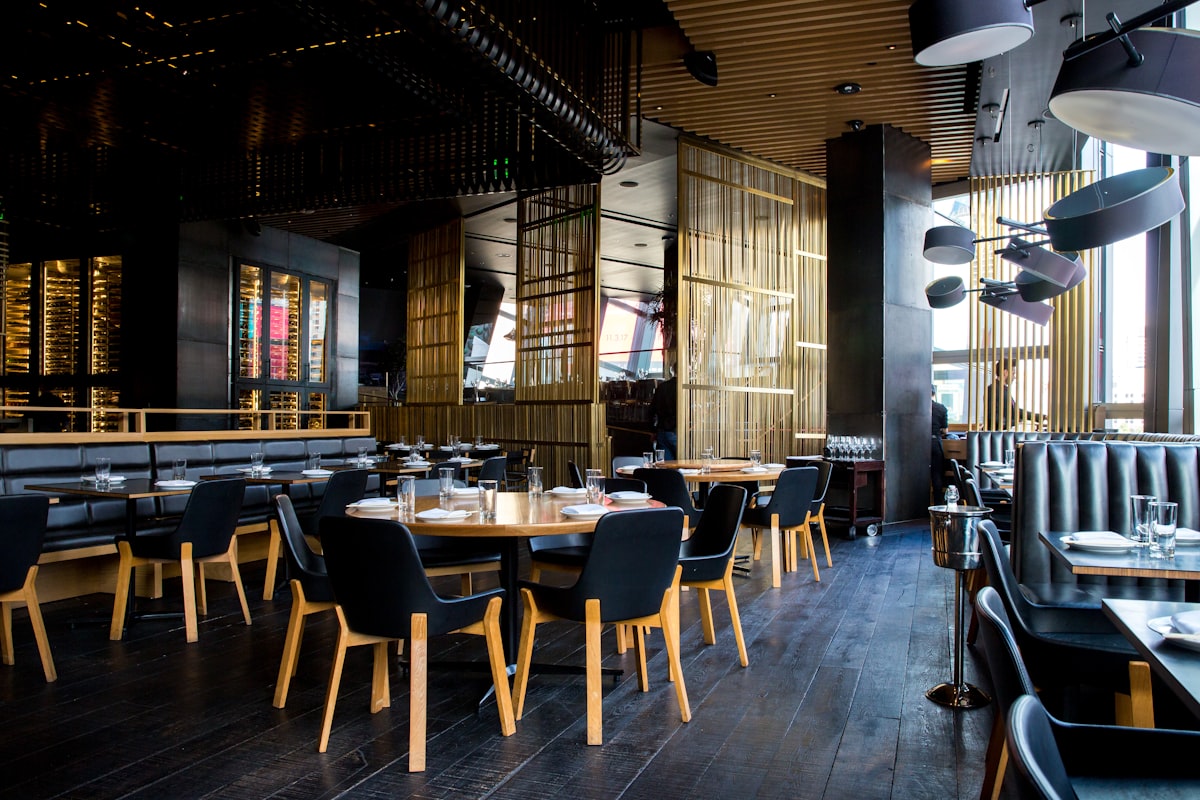
A dark, yellow-tinted photo of molokhia taken under the kitchen's fluorescent tube does more harm than no photo at all. It makes a good dish look like something you would send back. Yet most owners do not need a photographer to fix this. A recent phone, a window, a white piece of card and one organised afternoon will get you menu photos that look clean and honest.
This guide covers whether photos are worth the effort for your menu, the light and angle choices that matter most, how to style difficult Egyptian dishes, a shoot-day plan for 20 to 30 items, simple phone editing, and where stock and AI-generated images fit (and where they get you into trouble).
1Do photos actually lift orders?
You will read confident percentages online about how much photos increase sales. Treat them with suspicion; results vary with the dish, the audience and the photo quality, and a bad photo can lower orders for an item. What holds up in practice is narrower and more useful:
- Photos help most on unfamiliar dishes. A tourist in Hurghada deciding between hawawshi and a club sandwich will pick the one they can see. A regular ordering their usual does not need a picture.
- Photos help on visually strong items: layered desserts, sharing platters, colourful drinks, pizza.
- Photos set expectations on portion. This reduces "it's smaller than I thought" complaints, as long as the photo shows the real portion.
- A consistent set beats a few great shots. Three stunning photos next to twenty dark ones make the menu look unfinished.
You can test it on your own menu. Photograph your ten slowest items with decent margins, publish the photos, and compare how often those items are ordered over the next four weeks against the previous four. Keep prices and descriptions unchanged during the test so the photo is the only variable. If you are not sure how to read the numbers, our guide to menu analytics explains what to look at.
2Light: the one thing that decides the photo
Your phone camera is good enough. The light usually is not. Follow these rules in order:
- Use daylight from a window, not overhead lights. Set a table one to two metres from a large window, and switch off the ceiling lights so you do not mix warm bulbs with daylight (that mix is where the yellow or green cast comes from).
- Avoid direct sun on the plate. Harsh sun makes hard shadows and blown-out highlights. If the sun hits the table, hang a thin white curtain or a sheet of baking paper over the window.
- Put the light to the side or slightly behind the dish. Side light shows texture: the crust on bread, the grain of rice, the bubbles on a latte. Light from directly behind you flattens everything.
- Fill the shadow side with a white card. A sheet of white foam board or even a white menu held on the opposite side bounces light back into the shadows. This single trick fixes most "too dark on one side" photos.
- Turn off the flash. Always.
Pro Tip
In Egypt, a north-facing window gives the softest light for most of the day. If you only have a sunny window, shoot early in the morning or in the late afternoon when the light is lower and gentler.
3Angles by dish type
Different dishes have a "best side". Use this table as a starting point and keep the same angle for the same type of dish across the whole menu so the set looks consistent.
| Dish type | Best angle | Why |
|---|---|---|
| Pizza, mezze platters, breakfast spreads, koshari bowls | Straight down (flat lay) | Shows everything on the surface and the arrangement |
| Burgers, sandwiches, stacked plates | Low, almost eye level | Shows the layers and height |
| Grills, pasta, rice dishes, salads | About 45 degrees | The view a seated diner has, so it looks familiar |
| Drinks in glasses, layered desserts | Side on, level with the glass | Shows the layers, foam and colour |
| Soups, sauces, hummus | 45 degrees or flat lay with a spoon lifting some | A flat liquid surface reads as a coloured disc otherwise |
Hold the phone steady with both elbows on the table, or use a cheap phone tripod. Tap the dish on screen to focus there, and slide the exposure down slightly if the white plate looks blown out.
4Styling difficult Egyptian dishes
Some of the best-selling dishes in Egypt are the hardest to photograph because they are brown, green or soupy. A few practical fixes:
- Molokhia: the flat green surface looks like paint. Shoot it at 45 degrees next to its rice and chicken or rabbit, with a spoon lifting a little to show texture, and a small bowl of the garlic-coriander taqleya beside it.
- Koshari: pile it slightly higher than service height, put the crispy onions on top last, and put the tomato sauce and daqqa in small bowls beside it so the colours show.
- Foul and stews: add contrast from what is really served with them: a drizzle of oil, chopped parsley, a lemon wedge, baladi bread torn open.
- Grills: photograph within a minute of coming off the charcoal so the meat still looks moist; brush lightly with oil if it has dulled.
- Hot drinks and sahlab: shoot immediately; foam and toppings collapse within minutes.
Styling the portion bigger than you serve it
→ Guests compare the plate to the photo. Use the standard portion on the standard plate, garnished as it leaves the kitchen on a good night. A slightly better-looking truth is fine; a different dish is not.
Keep props minimal: your own table surface, one napkin, maybe cutlery. Busy props pull attention off the food and make a set of 30 photos look chaotic.
5A shoot-day plan for 20 to 30 dishes
Trying to photograph dishes during service never works. Book a quiet afternoon, and run it like a small production:
- Write a shot list the day before: item name, angle, plate, and whether it needs a hand or a pour.
- Group dishes by angle and background, so you set up flat-lays once, then 45-degree shots, then drinks.
- Ask the kitchen to fire one dish at a time, exactly as for a guest, with a two-minute gap so the plate arrives fresh.
- Take 10 to 15 frames per dish, small changes in angle and position, then move on. You pick later.
- Feed the team. The food is eaten after shooting, so plan the shoot for staff meal time and nothing is wasted.
A realistic pace is one dish every eight to ten minutes including setup, so 25 dishes is roughly a four-hour afternoon.
6Editing on the phone in five minutes per photo
You do not need editing software beyond the phone's built-in editor or a free app like Snapseed or Lightroom Mobile. Make the same small set of adjustments on every photo:
- Crop to the same shape for every item (square or 4:5 portrait both work well on phones).
- Straighten the horizon or table edge.
- Correct white balance so the white plate looks white, not yellow or blue.
- Raise exposure or shadows slightly if the dish looks heavy.
- Add a touch of contrast; leave saturation almost alone.
- Export at a reasonable size (around 1,500 pixels on the long side is plenty for a phone menu and loads quickly on weak Wi-Fi).
Once you like the look of one photo, save those settings as a preset and apply it to the rest. Over-saturated food looks fake and red meat can turn an unappetising orange.
7Stock photos, AI images and honesty
Many menus fill gaps with stock photos, and newer tools can generate food images from a text prompt. These are useful stopgaps, with one rule: the photo must show what the guest will receive. A stock image of a restaurant-style burger next to your street-style burger sets up a complaint.
How that works in Menyo specifically: if an item has no photo, the menu can show a matching stock food image so the page is not full of blank boxes. Treat those as placeholders and replace the ones for your top sellers with your own photos first. On the Professional plan, Creative Studio can also generate images or transform a photo you took (for example cleaning up the background) while keeping the composition of your actual dish. Use that to improve a real photo, not to invent a dish you do not serve. How photos appear alongside your logo and colours is covered in our guide to customising QR menu colours, logo and photos.
8Frequently asked questions
Which phone is good enough for menu photos?
Any smartphone from the last few years with a decent main camera is enough. Light and styling matter far more than the phone model. Use the main lens rather than the wide-angle one, which distorts plates at close range.
Should I use portrait mode for food?
Occasionally, for drinks or stacked items shot side on. For flat lays and most plates, portrait mode's artificial blur often cuts into the edges of the food, so the normal photo mode is safer.
Is it better to have no photo than a mediocre one?
For a single item, a clean text description beats a dark or unappetising photo. For the menu as a whole, aim for a consistent set; if you can only photograph some items, start with the top sellers and the dishes tourists do not recognise.
How often should I reshoot menu photos?
Whenever the plating, portion or plate changes, and for new items before they launch. Otherwise, a full reshoot every year or two keeps the set consistent as your presentation evolves.
9Your next step
Pick your ten most important items, book one quiet afternoon, and shoot them by the window with a white card on the shadow side. Edit them with the same preset, publish, and watch those items for a month. Pair each photo with a clear line of text using our formula for menu descriptions, since a photo shows the dish but the description explains the portion and price.
If you want a menu where uploading a new photo from your phone updates every table at once, you can create a Menyo account and try it on your own dishes.
Ready to digitize your menu?
Create a beautiful QR menu from a photo in minutes—the AI scan takes about 60 seconds. AI extracts items and prices automatically.
Try Menyo Free